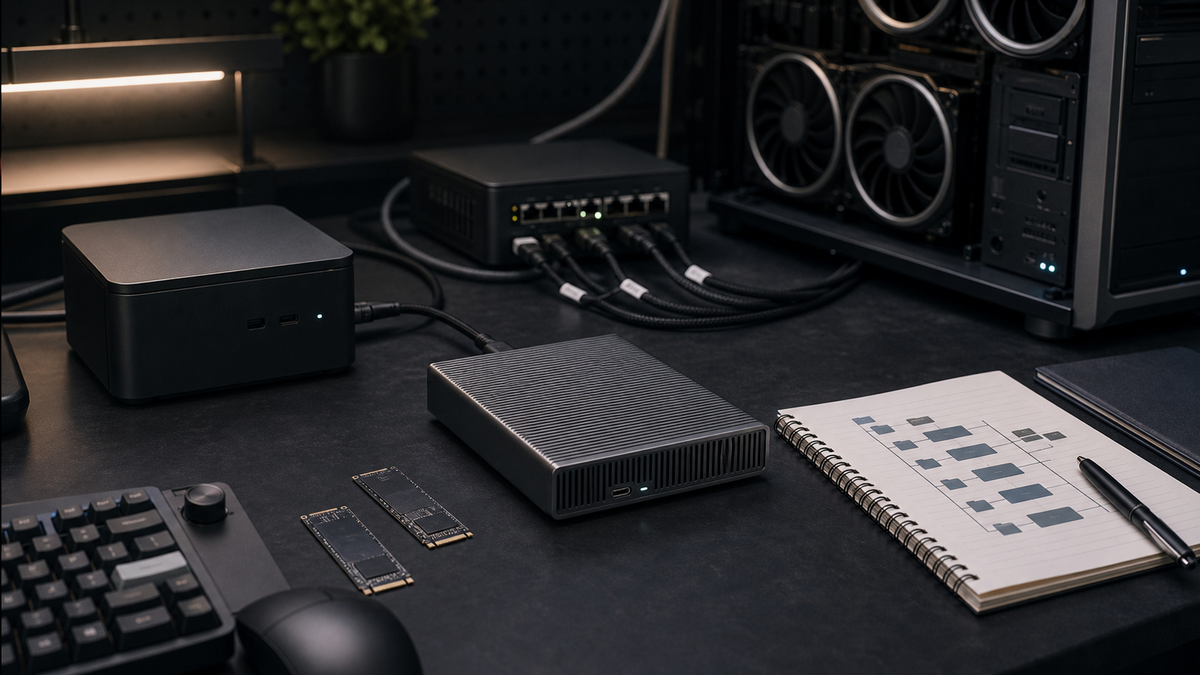
The first local AI storage mistake is obvious: putting too many models on the boot disk. The second one is quieter. You download a few datasets, export a ComfyUI image set, build a LoRA folder, make three corrected copies, and suddenly the machine is not out of compute. It is out of clean places to put the work.
Training data deserves its own plan. Not because every home lab needs a rack of enterprise SSDs, and not because a dataset drive will magically make a slow GPU fast. It deserves a plan because datasets are active working material. They get renamed, cleaned, resized, captioned, augmented, cached, sampled, copied, backed up, and deleted. If they share one messy volume with models, generated images, Python environments, browser downloads, and half-finished experiments, the lab becomes harder to trust.
Affiliate disclosure: TokenByte may earn a commission if you buy through future gear links. The guidance here is based on researched specifications and practical workflow design, not paid placement.
This guide is the storage conversation to have before the training weekend starts. Use it alongside the build picker, the recommended gear page, the Mac Mini local AI notes, the ComfyUI GPU guide, and the How We Test standard. The goal is simple: keep hot training data fast, durable source data safe, and temporary churn away from the boot disk.
The dataset drive is not the model drive
A model drive holds large, mostly read-only files: GGUFs, safetensors, checkpoints, VAEs, embeddings, LoRA files, and tokenizer assets. A scratch drive absorbs temporary output, cache churn, renders, unpacked archives, and benchmark debris. A training-data drive sits between those two.
It holds the files you are actively shaping into a useful training set:
- Raw source files you are allowed to use
- Cleaned copies
- Cropped or resized images
- Caption files
- Class folders
- Validation splits
- Small test subsets
- Hugging Face dataset caches
- Training logs and manifests
- Final dataset archives worth keeping
That separation matters because the work is repetitive. You will make a "clean" folder, then a cleaner one. You will remove duplicates, change captions, resize images, and re-run a preparation step after noticing one bad rule. If the folder is mixed into your ComfyUI output directory or your model library, you stop knowing which files are inputs, which files are outputs, and which files are disposable.
Treat the dataset drive as a workbench. The model drive is the parts shelf. The backup is the cabinet. The scratch disk is the trash tray.
Start with a three-tier layout
The easiest layout is three top-level folders:
/ai-data
  /source
  /working
  /published
source is for original material that should not be edited in place. If you are training from your own photos, scans, video frames, logs, or documents, keep the first good copy here. If licensing is unclear, do not train on it. If private data is involved, keep it off shared folders and do not mix it with public datasets.
working is for everything you touch during preparation. Put resized images, captions, generated masks, JSONL files, CSVs, Arrow caches, and filtered subsets here. This is where most churn happens, so it should be on the fastest storage you can justify for the project.
published is for finished dataset snapshots. Once a training run produces useful results, save the exact dataset version that made it happen. A small manifest is enough: source folder, cleaning rules, captioning method, split seed, date, and training script commit if you have one. The point is not bureaucracy. The point is being able to answer "what did I actually train on?" two weeks later.
Put Hugging Face caches where you mean to put them
Hugging Face storage can surprise people because there is more than one cache. The Datasets documentation says dataset files are stored locally, with Hub downloads using the huggingface_hub cache by default and Datasets also keeping its own Arrow-format cache. The default Datasets cache path is ~/.cache/huggingface/datasets.
For a home lab, the practical move is to set cache locations deliberately. If you only set a datasets-specific cache, Hub downloads can still land somewhere else. If you want a single root for Hugging Face cache material, use HF_HOME. A simple layout might look like this:
export HF_HOME="/ai-data/huggingface"That gives you a predictable root instead of slowly filling the home directory. If you want tighter control, set separate paths:
export HF_DATASETS_CACHE="/ai-data/huggingface/datasets"
export HF_HUB_CACHE="/ai-models/huggingface-hub"
That second pattern is useful when model downloads belong on the model drive but dataset transforms belong on the training-data drive. The important bit is consistency. Put the exports in your shell profile, launch agent, Docker Compose environment, or training script wrapper, then check them before the big download.
Do not assume a cache move is complete just because one variable changed. Run a small test dataset, inspect the folders, and confirm new files land where expected.
Do not make the NAS do hot training work by default
A NAS is excellent for durable storage, model sharing, backups, and moving files between machines. It is not automatically the right place for hot training reads.
Training and fine-tuning jobs often touch many small files, not just one giant file. Image folders, caption pairs, metadata tables, and preprocessed shards can create a different access pattern than copying a movie file across the network. Even with 10GbE, network storage adds another set of variables: share protocol, switch, cable, NAS disks, SSD cache behavior, file count, metadata operations, and other users on the network.
Use the NAS as the library and backup target. Use local NVMe or a fast external SSD as the active training workspace. Copy a dataset snapshot down, run the job locally, then push the finished snapshot and logs back to durable storage.
That is especially important for Mac Mini setups. A compact Apple Silicon desk can be a very good data-prep box, but the internal SSD is expensive to expand after purchase. A good USB4 or Thunderbolt external drive can keep training data, ComfyUI input sets, and dataset caches off the boot disk without turning the desk into a pile of adapters.
Size the drive around working copies, not the raw dataset
The raw dataset is only the start. A 400 GB source folder can become more than a terabyte of working material after you add:
- Cleaned copy
- Resized copy
- Caption files
- Validation split
- Failed experiment copy
- Cache or Arrow conversion
- Training logs
- Checkpoints from related test runs
- Compressed snapshot
For a small text fine-tune or toy image LoRA, 1 TB can be enough. For a serious image workflow, 2 TB feels small faster than expected. For mixed image, video-frame, and document datasets, 4 TB is a more comfortable starting point. If you are buying once for a workstation, 4 TB to 8 TB is usually the range worth pricing.
Do not read that as "buy the largest Gen5 SSD." Capacity, thermals, endurance, and connection type matter more than a peak sequential number in many home-lab workflows. A dataset folder with many small files can feel bad on a drive that looks impressive only in simple copy tests. A cooler, boring Gen4 NVMe drive can be the better home-lab buy if it has enough capacity and good endurance.
Know what the specs actually say
Vendor specs are useful when you read them as limits, not promises.
Samsung's 9100 PRO announcement lists PCIe 5.0 x4, NVMe 2.0, capacities up to 8 TB, and sequential read/write figures up to 14,800 / 13,400 MB/s depending on capacity. It also lists TBW ratings up to 4,800 TBW on the 8 TB model. That is impressive on paper, but Samsung also notes that performance varies with firmware, capacity, system hardware, and configuration.
SanDisk's WD_BLACK SN850X specs list PCIe 4.0 x4, 7,300 MB/s sequential read for common 2 TB and 4 TB configurations, 6,600 MB/s sequential write, and five-year limited warranty coverage. The 4 TB non-heatsink listing shows 2,400 TBW. Those are still strong numbers for many local AI data drives, especially when the workload is not purely sequential.
OWC's Express 1M2 page is a useful reminder for external Mac and PC builds. It lists USB4 compatibility, M.2 NVMe support, bus power, and connection-dependent real-world speed claims. The page shows up to 3,189 MB/s on Apple Silicon Macs over USB4 and up to 3,836 MB/s on USB4 or Thunderbolt 4 PCs. It also says the enclosure supports 2230, 2242, and 2280 M-key NVMe SSDs.
Those numbers do not mean your training run will get those speeds. They mean the storage path is unlikely to be the first obvious bottleneck for many single-GPU home-lab workflows if the rest of the system is healthy.
Separate ComfyUI inputs from generated output
ComfyUI gives you useful directory controls. Its command-line arguments include --base-directory, --input-directory, --output-directory, and --temp-directory. For a training-data drive, that matters because ComfyUI often becomes the place where image sets are generated, filtered, upscaled, cropped, and reviewed before training.
Do not let final training inputs live in the same pile as generated experiments. A clean setup might look like this:
python main.py \
  --input-directory /ai-data/working/comfy-input \
  --output-directory /ai-scratch/comfy-output \
  --temp-directory /ai-scratch/comfy-temp
That keeps source material and prepared inputs visible, while disposable output and temp files go somewhere you are willing to clean. If you use ComfyUI to generate synthetic training candidates, review and promote only the keepers into a named dataset version. Do not point training scripts at the entire output folder.
Tune data loading after the files are organized
Storage layout comes first. Tuning comes second.
PyTorch's DataLoader defaults to single-process loading. The docs say setting num_workers to a positive integer enables multi-process data loading, which can keep computation from waiting on the main process. The same docs warn that worker processes can increase CPU memory use because workers may consume memory tied to parent-process Python objects. In plain terms: more workers can help, but they are not free.
The PyTorch docs also list pin_memory=True, which copies tensors into device/CUDA pinned memory before returning them. That can help host-to-GPU transfer behavior in CUDA workflows, but it is not a storage substitute and it does not fix a sloppy dataset.
For a home-lab training run, change one thing at a time:
- Put the dataset on the intended drive.
- Run a short test epoch or small subset.
- Watch CPU, RAM, disk activity, and GPU utilization.
- Increase
num_workersonly if the GPU is waiting on data. - Try
pin_memory=Truefor CUDA training if the batch path fits. - Record the setting that worked.
If the GPU is already full and busy, the dataset drive is probably not your limiting factor. If the GPU sits idle while the CPU and disk churn, the loading path deserves attention.
Use small benchmark jobs, not vibes
Do not declare a drive "fast enough" because the box says 7,300 MB/s. Create a repeatable five-minute check.
For image training, build a 500-image subset and a 2,000-image subset. Run the same preprocessing and the same short training pass from the boot disk, the external drive, and the NAS if you are considering network storage. Record wall time, GPU utilization, CPU load, memory pressure, and any obvious stalls. You do not need laboratory-grade numbers. You need enough evidence to avoid buying the wrong fix.
For text datasets, time the conversion and tokenization path separately from the training path. If preprocessing is the slow part, a faster GPU will not fix it. If the cache lands on the wrong drive, a larger model SSD will not fix it. If every run rebuilds the same Arrow cache because the workspace gets deleted, the problem is workflow design.
TokenByte has not measured a controlled dataset-drive benchmark for this article. Treat the hardware notes here as researched context and buying guidance, not a claim that one specific drive improves a specific training job by a specific percentage.
Buying guidance: what to prioritize
For a local AI training-data drive, prioritize in this order:
- Enough capacity for working copies
- Stable thermal behavior
- Solid endurance rating
- A connection that matches the machine
- Easy replacement or migration
- Peak speed only after the first five are solved
For an internal desktop workstation, a 4 TB Gen4 NVMe drive is often the pragmatic baseline. If the motherboard has a cooled M.2 slot and you can keep GPU heat under control, a Gen5 drive can make sense for heavier data-prep work, but it should not steal budget from RAM, backup storage, or the GPU that actually runs the model.
For a Mac Mini or compact desk, a USB4 NVMe enclosure is the cleanest path for many people. Check whether the enclosure supports the SSD form factor, whether a heatsink-equipped SSD will physically fit, what cable is included, and what speed class your Mac or PC port actually supports. A nice external drive on a 10 Gb/s USB-C port is still useful, but it is not the same as a 40 Gb/s USB4 path.
For a shared lab, do both: local hot workspace plus NAS archive. The workstation should not depend on the NAS for every batch read, and the NAS should not be treated as a scratch folder that can be wiped casually.
A sane folder template
Here is a practical starter layout:
/ai-data
  /source
    /photos-original
    /documents-original
  /working
    /project-name
      /00-ingest
      /01-clean
      /02-captions
      /03-train
      /04-validation
      /logs
      manifest.md
  /huggingface
    /datasets
    /hub-if-needed
  /published
    /project-name-2026-08-01
Keep the names boring. Dates and version numbers beat cute folder names when you are trying to reproduce a run. If a dataset produces a model worth keeping, put the final model artifact on the model drive and the exact dataset snapshot under published.
The manifest can be short:
Dataset: project-name-2026-08-01
Source: /ai-data/source/photos-original
Prepared from: /ai-data/working/project-name/03-train
Rules: removed duplicates, resized long edge to 1024, manual caption pass
Validation split: 10 percent, seed 42
Training script: train_lora.py, commit abc123
Private data: no
License notes: owned source photos
That tiny file is the difference between "I think this was the good run" and "I can rebuild this."
Red flags before you press train
Pause if any of these are true:
- The dataset lives in Downloads
- The only copy is inside a ComfyUI output folder
- Hugging Face caches still write to the boot disk
- The training script points at the parent folder instead of a clean split
- Private files are mixed with public examples
- There is no validation subset
- The NAS is the only copy and the active workspace
- You cannot explain which files are raw, cleaned, and final
- The drive is nearly full before the first run
None of these are dramatic on day one. They become expensive when the first useful model arrives and nobody can reproduce it.
The practical build
For most TokenByte readers, the clean answer is not exotic:
- Keep models on a model drive or model library
- Keep active datasets on a dedicated local SSD
- Keep ComfyUI temp and generated output on scratch storage
- Keep finished dataset snapshots on the NAS or backup drive
- Keep a manifest with every run that matters
That setup will not make a 12 GB GPU behave like a 32 GB GPU. It will not turn a random image pile into a good dataset. It will not replace careful licensing and privacy checks.
It will do something more useful: it will keep the lab understandable. When the training run slows down, fails, or produces a weird result, you can inspect one layer at a time instead of digging through a single overloaded disk called "AI stuff."
That is the point of a home-lab data drive. Buy it for the workflow, not the sticker speed.