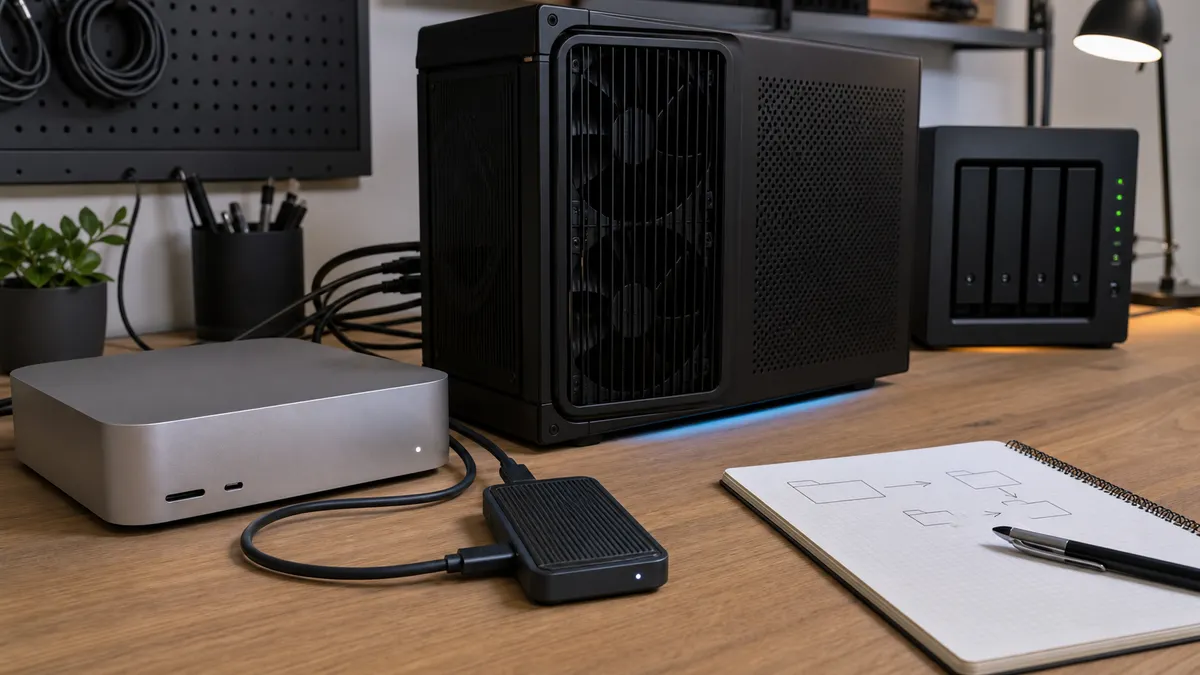
The first storage problem in a local AI lab rarely looks like a storage problem.
ComfyUI starts taking longer to open folders. A batch of generations leaves thousands of previews behind. Hugging Face downloads another model into a cache you forgot existed. Docker quietly grows a volume. Ollama keeps working, but your boot disk is suddenly warning you like you did something reckless.
Nothing dramatic broke. The lab just started using your main drive as a junk drawer.
That is the point where a scratch drive earns its place. Not a mysterious enterprise storage tier. Not a NAS project that consumes the weekend. Just one fast, boring, clearly named drive where temporary AI work, outputs, caches, downloads, and experiments can live without crowding the operating system.
Affiliate disclosure: TokenByte may earn from gear links when they are added. Recommendations here are based on practical fit, workload constraints, and reasons not to overspend, not paid placement.
The Fast Verdict
If your local AI setup is starting to feel messy, separate storage by job:
| Storage job | Best home-lab location | Why it matters |
|---|---|---|
| Boot drive | OS, apps, small config files | Keep it boring and recoverable |
| Model library | Dedicated model drive or NAS-backed library | Big files need predictable paths |
| Scratch drive | ComfyUI outputs, temp files, Hugging Face cache, Docker test volumes | High churn should not eat the boot disk |
| Backup drive | External disk or NAS backup | Scratch can be disposable; workflows and keepers are not |
For most readers, the scratch drive should be a 2TB or 4TB SSD. A desktop GPU workstation can use an internal NVMe drive. A Mac Mini desk can use a good external USB4, Thunderbolt, or fast USB-C SSD. A NAS is useful later, but it is usually the wrong first fix for high-churn scratch work.
If you are still choosing the machine itself, start with the TokenByte local AI build picker. Storage planning changes depending on whether the daily driver is a quiet Mac, an RTX tower, or a multi-machine lab.
Why Scratch Storage Is Different From Model Storage
A model library is about keeping important files in stable places: GGUF models, checkpoints, LoRAs, VAEs, upscalers, embeddings, benchmark notes, and known-good workflows.
A scratch drive is about churn.
It catches files you create, inspect, delete, regenerate, replace, and forget. That includes ComfyUI temp files, image outputs, test batches, downloaded assets, Hugging Face cache data, container experiments, extracted datasets, and one-off automation artifacts. Some of those files matter. Many do not. All of them grow.
Keeping that churn off the boot disk makes the lab easier to maintain. It also gives you a safer cleanup rule: the scratch drive can have an aggressive pruning schedule, while the model library and backup drive get treated more carefully.
That separation sounds fussy until the first time a full boot disk interrupts a generation batch or corrupts your ability to update tools cleanly.
ComfyUI Is The Obvious First Target
ComfyUI is a scratch-drive magnet because it creates and consumes a lot of files around the actual generation step.
The good news is that ComfyUI exposes useful path controls. Its current command-line arguments include options for setting the output directory, temp directory, input directory, and extra model paths config. That means you do not have to accept the default folder layout forever.
A practical shape:
AI-Scratch/
  comfyui/
    input/
    output/
    temp/
    batches/
    keepers/
Then launch ComfyUI with explicit paths for the directories you want moved. The exact command depends on your install method, but the idea is simple: put temporary and output-heavy work on the scratch drive, while the boot disk keeps the app and environment.
Do not turn this into a fragile science project on day one. Move the output and temp paths first. Keep a small known-good test workflow. Generate a few images. Confirm the files land where expected. Then decide whether the model paths should move too.
If ComfyUI performance is the bigger question, read the TokenByte ComfyUI GPU guide before blaming storage. VRAM, model size, sampler choices, resolution, and workflow complexity usually matter more than SSD speed once the files are loaded.
Move Hugging Face Cache On Purpose
Hugging Face downloads can quietly become a second model library.
The Hugging Face Hub documentation lists environment variables for controlling local storage. HF_HOME sets the broader Hugging Face home location. HF_HUB_CACHE controls where repositories from the Hub are cached. HF_XET_CACHE covers Xet chunks, and HF_ASSETS_CACHE covers downstream assets such as preprocessing files, GitHub downloads, and logs.
That is useful because a local AI lab often tries models before deciding which ones deserve a permanent place. The cache is not the same thing as your curated model library.
A clean setup:
AI-Scratch/
  hf-cache/
    hub/
    xet/
    assets/

AI-Models/
  llm/
  diffusion/
  embeddings/
  licenses-and-notes/
The scratch cache can be cleaned when it gets bloated. The model library is where the keepers go after you know what they are, what license applies, what revision you used, and which workflow depends on them.
This pairs well with the recent TokenByte model-inventory habit: cache first, promote later, document what survived.
Ollama Models Are Usually Not Scratch
Ollama is a little different.
The Ollama FAQ lists default model locations by platform and says OLLAMA_MODELS can point models at a different directory. That is helpful when the default path would fill the boot disk. But Ollama's model folder is usually closer to a model library than a scratch folder.
If you only use Ollama casually, moving OLLAMA_MODELS to the main model drive may be enough. If you test many variants, keep notes beside the model library rather than treating every pull as permanent wisdom.
The scratch-drive rule still applies around Ollama-adjacent work:
- Put temporary transcripts, prompt batches, eval outputs, and automation logs on scratch.
- Put known-good models and repeatable notes in the model library.
- Back up the notes and workflows, not every disposable experiment.
For a quiet Apple Silicon setup, the TokenByte Mac Mini local AI guide is the better starting point than a giant desktop storage plan.
Docker Volumes Need A Boundary
Docker makes local AI experiments easy to start and easy to forget.
That matters because a container test can leave behind downloaded models, Python wheels, generated outputs, logs, database files, and volumes you no longer remember creating. If you use Docker Compose for GPU-enabled services, Docker's own docs show GPU reservations through Compose device capabilities, but storage still needs to be designed separately. GPU access does not make your volumes tidy.
For experiments, put bind mounts somewhere obvious:
AI-Scratch/
  docker/
    comfyui-test/
    ollama-test/
    captioning/
    rag-rebuilds/
Then make a rule: anything under AI-Scratch/docker/ is allowed to be rebuilt. Anything that cannot be rebuilt should be promoted to AI-Models, AI-Projects, or AI-Backups.
That one rule prevents a common home-lab failure: no one wants to delete the mystery volume because no one knows whether it matters.
What Kind Of Drive To Buy
Do not buy from the spec sheet alone. Buy for the machine and the mess you are trying to control.
For a desktop GPU workstation, an internal PCIe 4.0 NVMe drive is usually the cleanest scratch-drive choice. Samsung lists the 4TB 990 PRO at up to 7,450 MB/s sequential read and 6,900 MB/s sequential write, depending on system conditions. SanDisk lists the 4TB WD_BLACK SN850X at 7,300 MB/s sequential read and 6,600 MB/s sequential write. Those are manufacturer specs, not TokenByte measurements, but they show the class of drive that makes sense inside a fixed workstation.
For a Mac Mini or laptop-centered lab, use a fast external SSD that matches your ports and budget. Capacity matters more than headline speed if your current problem is running out of room. A 4TB drive that is always connected and clearly organized will beat a tiny premium drive that fills up immediately.
For a multi-machine lab, a NAS can be excellent for backups, archives, and shared model storage. I would still be careful about putting active ComfyUI temp work directly on a NAS unless you have measured the workflow. Scratch files are often happier on local SSD storage, with the NAS acting as the second copy.
The TokenByte recommended gear page is the place to start when you want the buying shortlist. The rule for this article is simpler: buy enough capacity, then buy enough speed.
The Folder Layout I Would Use
Here is the boring layout I would give a real home lab:
AI-Scratch/
  README.txt
  comfyui/
    input/
    output/
    temp/
    keepers/
  hf-cache/
    hub/
    xet/
    assets/
  docker/
    experiments/
    rag-rebuilds/
    batch-captioning/
  automation/
    logs/
    exports/
  inbox/
    delete-after-review/

AI-Models/
  llm/
  diffusion/
  loras/
  vae/
  upscalers/
  licenses-and-notes/

AI-Projects/
  workflows/
  benchmarks/
  articles/
  datasets-that-matter/
Put a plain-language README.txt at the top of the scratch drive:
This drive is for temporary local AI work.
Anything in inbox/delete-after-review can be deleted after review.
Promote important outputs to AI-Projects.
Promote reusable models to AI-Models.
Back up keepers before wiping large folders.
That note is not for guests. It is for you, three months later, when the drive is full and you are trying to remember whether final-final-batch-3 was important.
Cleanup Rules Beat Cleanup Guilt
Scratch storage only works if it has cleanup rules.
Start with these:
- Delete failed ComfyUI generations after review.
- Move final images and workflows into a project folder.
- Clear old Hugging Face cache entries after promoted models are documented.
- Remove Docker test volumes when the experiment is over.
- Keep a monthly storage note: what grew, what mattered, what can be deleted.
Do not automate deletion until you understand your own workflow. A manual monthly pass is safer at first. Once the pattern is clear, then a small cleanup script can delete known-disposable folders older than a chosen age.
This is also where TokenByte's How We Test habit matters. If you keep benchmark notes and workflow notes, you can delete disposable files with more confidence.
What Not To Do
Do not put everything on the boot drive because it was easiest during setup.
Do not treat a cache as a curated model library.
Do not buy a small ultra-fast SSD when the actual problem is capacity.
Do not point every tool at a NAS just because the NAS exists.
Do not move every path at once and then wonder which change broke the workflow.
And do not confuse storage speed with GPU performance. A scratch drive makes the lab cleaner, more reliable, and easier to maintain. It does not magically make a model fit into VRAM.
Bottom Line
A local AI scratch drive is not glamorous, but it is one of the upgrades that makes a lab feel less fragile.
Put ComfyUI outputs and temp files somewhere intentional. Move Hugging Face cache off the boot disk if downloads are piling up. Treat Ollama models as a real model library, not disposable trash. Give Docker experiments a boundary. Back up the keepers. Delete the rest without drama.
The best scratch drive is not always the fastest one. It is the drive that keeps your main machine clean, gives experiments room to breathe, and makes cleanup obvious before the lab turns into mystery folders again.
Next reads:
Found something that needs correcting? Tell the editor. Research, estimates, and hands-on measurements should be identified in the article. Read our affiliate disclosure.