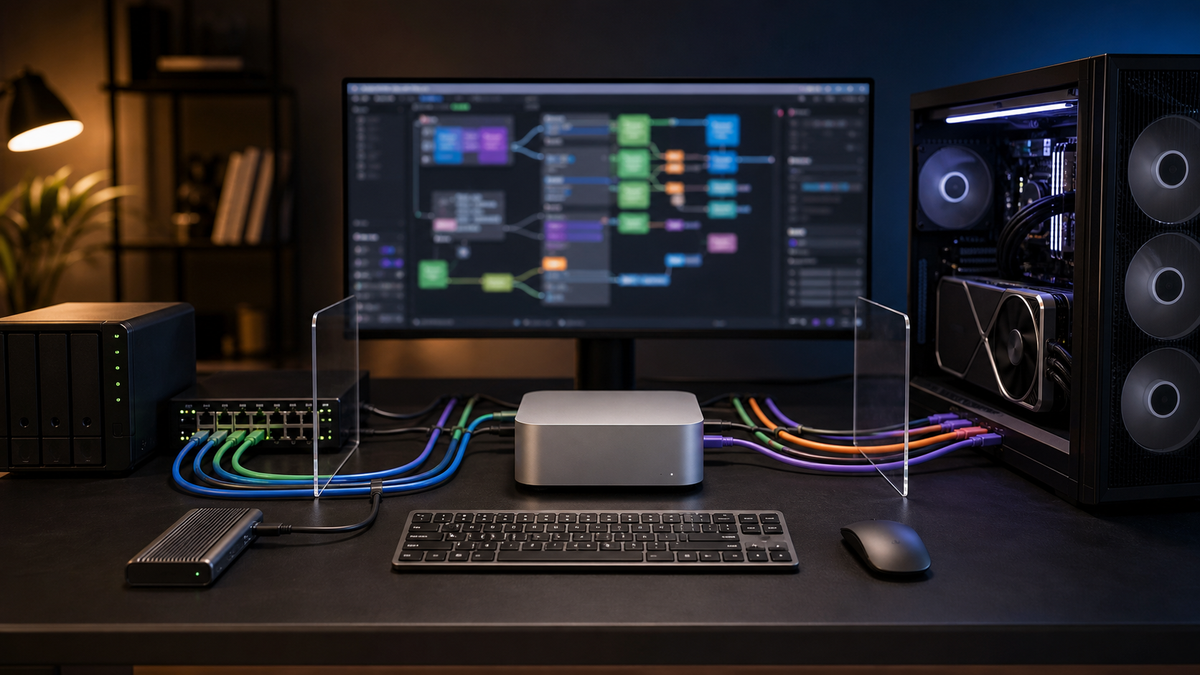
ComfyUI usually breaks quietly before it breaks loudly.
The first graph works. The first model loads. The first image appears, and suddenly the local AI workstation feels worth the cables, fans, storage, and GPU money. Then a workflow from the internet needs a missing custom node. The node needs a requirements file. The requirements file updates a package you did not know you had. Another node disappears. PyTorch still imports, but CUDA is no longer available. The UI launches, but the graph fails three steps later with an error that looks like a Python problem, a model problem, and a GPU problem at the same time.
That is not a sign that ComfyUI is bad. It is a sign that the Python environment became part of the lab infrastructure, and nobody treated it that way.
A good ComfyUI setup is not just a GPU, model folder, and browser tab. It is a small software stack with boundaries: one environment for the app, a documented way to install custom nodes, a known PyTorch and CUDA path, a rollback note, and a habit of adding complexity one step at a time. You do not need enterprise process for a home lab. You do need enough discipline that a new node does not turn Saturday into archaeology.
Affiliate disclosure: TokenByte may earn a commission if you buy through future gear links. This guide is based on current documentation and practical setup design, not paid placement or TokenByte benchmark results.
Use this alongside the ComfyUI GPU guide, the ComfyUI workflow starter, the local AI update test bench, the scratch drive plan, and the How We Test standard. TokenByte has not measured ComfyUI startup time, node failure rates, package resolver speed, or image generation performance for this article. Treat this as researched setup guidance, then record your own exact versions before changing a production workflow.
The real problem is environment drift
ComfyUI is a Python application. Custom nodes are Python code. Many nodes bring their own dependencies. Some workflows need specific model families, helper libraries, image processors, video tools, or acceleration packages. That flexibility is the reason ComfyUI is useful, but it is also why one casual install can contaminate the whole setup.
The official ComfyUI dependency docs describe the basic shape: workflows can depend on assets, custom nodes, Python dependencies, and models. The same docs note that ComfyUI runs inside an isolated Python environment and that custom nodes often have their own requirements.txt files. They also call out dependency conflicts directly, including version pins from one node, different version needs from another node, and environment pollution where one install overwrites libraries used by other plugins.
That is the failure to plan for.
It is tempting to think the GPU is the fragile part because the GPU is expensive. In practice, the GPU often sits there waiting while Python argues with itself. A CUDA wheel changes. A dependency resolver backtracks. A custom node installs a newer image library. A video node drags in a package that does not like your current Python version. A Windows portable install uses embedded Python while your terminal uses system Python, so the package installed successfully in exactly the wrong place.
The fix starts with one boring rule: never treat the system Python install as the lab.
Separate the app, the models, and the experiments
The first useful boundary is not fancy. Put the parts in different buckets.
/ai-lab
  /apps
    /comfyui-main
    /comfyui-test
  /models
    /checkpoints
    /loras
    /vae
    /upscalers
  /outputs
    /baseline
    /experiments
    /failed
  /notes
    comfyui-version-log.md
    custom-node-log.md
    rollback-notes.md
Your exact paths can differ. The point is that the application environment should not be the model library, and the model library should not be the output junk drawer. ComfyUI supports additional model paths through extra_model_paths.yaml, so multiple ComfyUI installs can point at the same model library without duplicating every checkpoint. That is useful when you want one stable install and one experimental install.
Do not make the test install share everything. Sharing models is fine. Sharing the same Python environment defeats the point. Sharing the same output folder makes it harder to know which workflow produced which failure. Sharing every custom node turns the test bench into a shadow copy of the mess.
A good split looks like this:
- stable ComfyUI install for daily workflows
- test ComfyUI install for new custom nodes and version changes
- shared model library to avoid redownloading large files
- separate output folders for baseline, experiments, and failures
- short notes that say what changed and why
That is enough structure for a home lab. You can delete and rebuild an environment without losing models, workflows, or evidence.
Use a virtual environment on purpose
Python's venv module exists for this job. The Python docs describe virtual environments as isolated directories with their own interpreter and installed packages, separate from the base Python installation. They are meant to be disposable: if the environment is damaged, recreate it instead of dragging the damage forward.
For a manual ComfyUI install, that means the commands should point into the ComfyUI environment you actually run:
cd /ai-lab/apps/comfyui-main
python -m venv .venv
source .venv/bin/activate
python -m pip install --upgrade pip
python -m pip install -r requirements.txt
On Windows, the shape changes, but the rule stays the same: install dependencies into the Python runtime that launches ComfyUI. If you are using the Windows portable build, use the embedded Python path documented by ComfyUI. If you are using a manually created environment, activate that environment before installing node requirements.
The most useful habit is to avoid bare pip when you are tired. Prefer:
python -m pip install -r requirements.txtThat tells you which Python is receiving the package. If python is the wrong Python, fix that before installing more packages.
uv is useful, but it does not remove judgment
The newer uv tooling is attractive for Python projects because it can create project environments, sync dependencies, and maintain lockfiles. The uv docs describe automatic locking and syncing, uv.lock, uv sync, uv run, --locked, --frozen, and exact syncing behavior. That is useful when you want a reproducible local utility or helper project around ComfyUI.
For the core ComfyUI app, be careful. ComfyUI and custom nodes still have their own installation expectations, and many users are following upstream instructions built around pip, embedded Python, or ComfyUI Manager. Do not turn the main install into a tool migration project unless you know how you will recover.
Where uv fits nicely:
- a helper script that watches ComfyUI outputs
- a local captioning or sorting utility
- a small workflow metadata tool
- a test project for reading image folders or logs
- exporting a lock-style dependency record for your own scripts
Where to move slowly:
- replacing the exact ComfyUI install path that already works
- installing random custom node requirements into a uv project that ComfyUI does not run from
- assuming a lockfile from one machine proves compatibility on a different GPU, OS, Python version, or CUDA path
The goal is reproducibility, not tool collection. If venv plus notes solves the lab, use that. If uv makes your own helper projects cleaner, use uv there first.
Pin the CUDA and PyTorch decision, not every package forever
PyTorch is the pressure point in many GPU ComfyUI setups. PyTorch's install page tells users to choose the OS, package manager, language, and compute platform, then run the matching command. It also documents a simple CUDA availability check with torch.cuda.is_available(). That check should be in your acceptance test, not only in a troubleshooting panic.
NVIDIA's CUDA release notes matter because the driver and toolkit relationship is not vague. The CUDA 13.0 release notes list minimum driver ranges for CUDA minor version compatibility, including CUDA 13.x at driver 580 or newer and CUDA 12.x at driver 525 through below 580. The same notes show specific toolkit driver version rows, such as CUDA 12.8 and 12.6 having their own minimum driver versions.
That does not mean every ComfyUI user should install the newest CUDA toolkit. Many PyTorch wheels bundle the CUDA runtime they need. It means you should know which path you are on:
Operating system:
GPU:
NVIDIA driver:
Python version:
PyTorch install command:
PyTorch version:
CUDA wheel/index:
ComfyUI commit or release:
Custom nodes changed:
Write that down before the setup feels broken.
The practical rule: do not update the NVIDIA driver, PyTorch, Python, ComfyUI, and five custom nodes in one session unless the machine is explicitly the test bench. If you change everything at once, you do not have a bug. You have a pile.
Install custom nodes one at a time
The ComfyUI custom node docs describe three installation paths: ComfyUI Manager, Git clone, and ZIP download. They recommend reviewing custom nodes carefully, using trusted authors, understanding the plugin before installing it, and avoiding obscure or suspicious plugins. They also say custom node installation usually has two parts: put the node code in ComfyUI/custom_nodes, then install its Python dependencies.
That second part is where many home labs get sloppy.
A sane install loop looks like this:
- Save the current working workflow.
- Record the current ComfyUI commit or version.
- Record
python --version. - Record
python -m pip freezeor an equivalent package list. - Install one custom node.
- Install only that node's documented requirements.
- Restart ComfyUI.
- Check startup logs for import failures.
- Run one small baseline workflow.
- Write down whether the node stays, waits, or gets removed.
This sounds slow. It is faster than installing six nodes and discovering that one of them broke the loader.
The baseline workflow should be intentionally plain: one model, one prompt, one fixed seed, one output folder. You are not testing artistic quality. You are testing whether the environment still runs. If the baseline fails after installing a node, you have a narrow suspect.
Keep a rollback note that a tired person can use
A rollback plan does not need to be a production-grade deployment system. It needs to be clear at 11:30 p.m. when the UI will not launch.
Use a short note:
Date:
Goal:
Before:
  ComfyUI:
  Python:
  PyTorch:
  CUDA available:
  Custom nodes:
Changed:
  Node:
  Command:
  Reason:
Result:
  Startup:
  Baseline workflow:
Rollback:
  Remove node folder:
  Restore package list:
  Recreate venv:
If the environment is disposable, rollback can be simple: move the broken custom node out of custom_nodes, recreate .venv, reinstall ComfyUI requirements, then reinstall only the known-good node set. If you cannot describe that in five lines, the setup is too mysterious.
For more serious labs, keep snapshots:
- a copy of the last working
requirementsor package freeze - a list of custom node repositories and commits
- a saved baseline workflow JSON
- one known-good output image
- the exact launch command
- the exact model paths file
Do not rely on browser history, terminal scrollback, or memory. Those are not rollback systems.
When a second ComfyUI install is worth it
You do not need two installs on day one. You do need a second install when the stable one becomes useful.
Create a test install when:
- you publish or deliver outputs from ComfyUI
- you have more than five custom nodes
- you use video, 3D, control, or advanced upscaling workflows
- you are changing PyTorch or Python versions
- you are trying nodes from unfamiliar authors
- you cannot afford to lose the working setup for a weekend
The test install can share the model library through extra_model_paths.yaml, but it should have its own Python environment and custom node folder. That lets you try the messy stuff without teaching the daily setup bad habits.
There is a buying angle here, but it is not glamorous. A second install is easier when the lab has enough storage. A 2TB or 4TB NVMe scratch drive, a reliable external SSD, or a NAS-backed model library can make clean separation painless. Buying another GPU before the workflow is reproducible is usually backwards. Storage and environment hygiene often remove more friction for less money.
Buying guidance for environment stability
You cannot buy your way out of dependency management, but you can buy parts that make clean habits easier.
Useful purchases:
- fast internal NVMe for active ComfyUI app folders and outputs
- external SSD for exported workflows, package snapshots, and portable backups
- NAS storage for model library organization, not latency-sensitive active work
- enough system RAM that Python, browsers, file copies, and helper tools have breathing room
- a UPS if the machine runs long image batches
- a simple label maker or cable tags so the lab can be understood later
Delay these purchases:
- another GPU before the current workflow is documented
- a premium KVM, dock, or enclosure if the actual failure is Python drift
- a giant NAS upgrade if the app environment itself is unstable
- paid node bundles or model packs before you understand their dependency and license requirements
The best gear purchase is the one that supports a repeatable workflow. If the setup cannot recreate yesterday's baseline image, the next dollar should probably go toward storage discipline, backups, or a test bench, not raw speed.
A five-minute environment acceptance test
Run this after a fresh install, custom node install, or major update:
- Launch ComfyUI from the intended environment.
- Confirm the startup log has no import failures.
- Run
python --versionfrom the same terminal. - Run a PyTorch import check.
- On an NVIDIA setup, run
torch.cuda.is_available(). - Load one known-good workflow.
- Generate one small fixed-seed output.
- Confirm the output lands in the expected folder.
- Restart ComfyUI and run the same workflow again.
- Record what changed.
For the PyTorch check:
python - <<'PY'
import torch
print(torch.__version__)
print(torch.cuda.is_available())
PY
If that reports CUDA unavailable on a machine where CUDA should work, stop. Do not install more nodes to see if the problem improves. Fix the base environment first.
The practical payoff
ComfyUI rewards experimentation. That is why people love it. It also punishes experiments that are installed directly into the only working environment.
Give the app its own Python runtime. Keep models separate from the application. Add custom nodes one at a time. Record the PyTorch and CUDA path. Keep a tiny rollback note. Use a second install when the first one becomes valuable enough to protect.
This does not make the lab slower or less creative. It makes the creative part safer. You can still try strange workflows, new nodes, newer models, and odd experiments. You are just doing it in a setup that can recover.
The local AI desk feels different when the working graph is not fragile. ComfyUI stops being a mystery folder and becomes a tool you can trust, break on purpose, and rebuild when needed. That is the kind of boring infrastructure that keeps the fun parts fun.