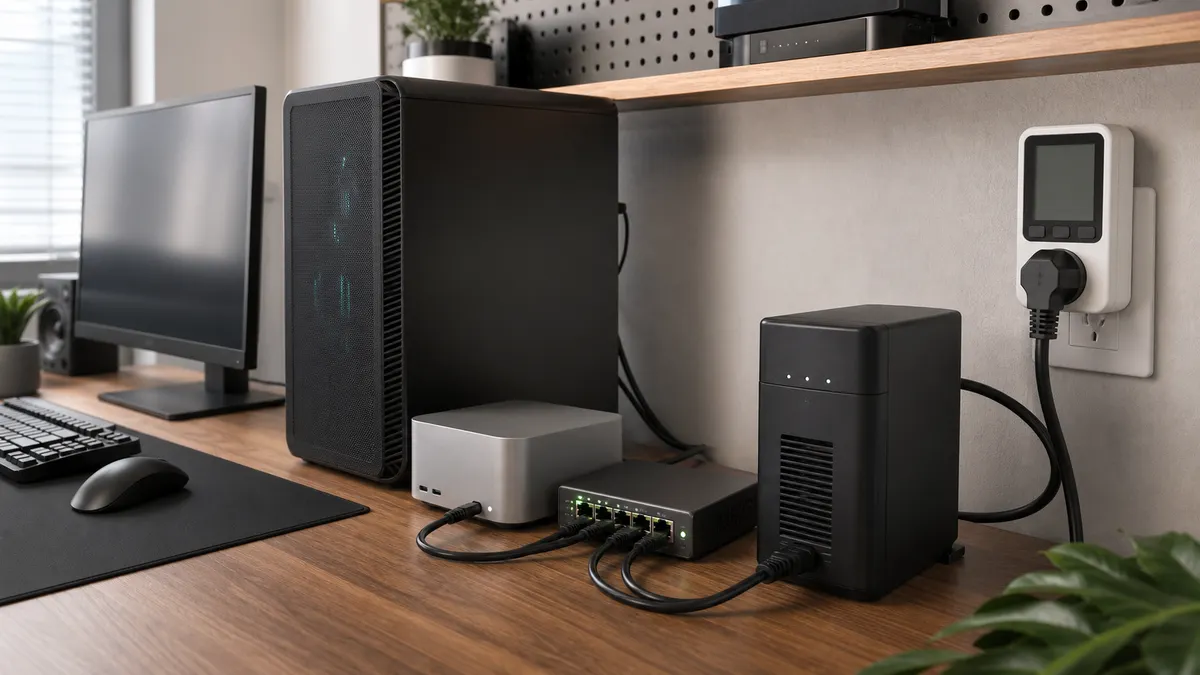
The fastest way to waste money in a local AI lab is to upgrade the GPU before you know what the current machine is actually doing at the wall.
GPU dashboards are useful. nvidia-smi is useful. Fan noise is a clue. But none of those tell you the full load that your outlet, UPS, circuit, and room are seeing. A local AI box is not just a graphics card. It is the GPU, CPU, drives, fans, PSU losses, network gear, monitor, USB devices, and whatever else you plugged into the same corner of the desk.
That is why a boring wall power meter can be one of the better first buys for a serious home-lab AI setup.
Not because it is exciting. Because it answers the questions that stop you from guessing: how much does the machine draw at idle, what happens during a ComfyUI batch, whether a GPU power limit actually helps, how much load the UPS sees, and whether the next upgrade belongs in the GPU slot or somewhere else.
TokenByte's earlier RTX power budget guide covers PSU, cable, airflow, and GPU class planning. This is the companion habit: measure the box you have before you buy the box you imagine.
The Number You Actually Need
For local AI, the most useful number is not the GPU's official board power. It is whole-system wall power during the workload you actually run.
NVIDIA lists the GeForce RTX 4090 Founders Edition at 450 watts total graphics power and 850 watts required system power for its reference configuration. NVIDIA lists the GeForce RTX 5090 Founders Edition at 575 watts total graphics power and 1000 watts required system power. Those are important planning numbers, especially when you are choosing a PSU and case.
But they are not your wall measurement.
A diffusion batch, a local LLM server, an embedding job, a video transcode, or a mixed automation run can all stress the system differently. The GPU may report one figure while the outlet sees another. The difference is not a rounding error: the CPU, memory, storage, fans, motherboard, power supply efficiency, monitor, and attached gear all matter.
If you are building from scratch with TokenByte's local AI build picker, official GPU power specs are enough to avoid obviously bad part choices. If you already have a machine on the desk, a meter gives you something better: your own baseline.
Use nvidia-smi, But Know What It Is Telling You
nvidia-smi should still be part of the routine on an NVIDIA local AI box.
NVIDIA's documentation describes GPU power readings such as average and instantaneous board power on supported devices, plus current, requested, default, minimum, and maximum power-limit fields. It also documents --power-limit, which sets a GPU power limit in watts on supported hardware and requires administrator or root privileges.
That gives you an excellent GPU-side view:
nvidia-smi --query-gpu=name,power.draw,power.limit,temperature.gpu,utilization.gpu,memory.used --format=csv -l 2Use that while a real workload is running. Watch whether the GPU is power-bound, memory-heavy, thermally stressed, or mostly waiting.
Just do not confuse GPU board power with wall power. If nvidia-smi says the GPU is drawing 310 watts, the outlet may still see a much larger number once the rest of the box joins in. The UPS does not care that the GPU alone is efficient. The circuit, room temperature, and runtime care about the whole load.
That distinction matters when deciding whether a power limit is worth keeping. A 50-watt GPU reduction is meaningful, but the wall meter tells you whether it changed the whole machine enough to affect noise, heat, and UPS runtime.
Three Practical Ways To Measure
You do not need a rack-grade power distribution unit to start.
For most home labs, there are three reasonable options:
| Tool | Best for | Watch-outs |
|---|---|---|
| Plug-in watt meter | One-off measurements, quick baselines, no cloud account | Usually manual logging, may block adjacent outlets |
| Energy-monitoring smart plug | Repeated logs, app history, home automation | Check continuous load rating, privacy model, and whether energy data is exposed locally |
| UPS telemetry | Runtime planning, shutdown behavior, protected load visibility | Some UPSes report limited or approximate data; test before trusting it |
A basic plug-in meter is the cleanest first step. The P3 Kill A Watt P4400 manual lists 115 VAC operation, 15 amp maximum current, 1875 VA maximum power, and readings for volts, amps, watts, hertz, volt-amps, and kilowatt-hours. That is enough to answer the first question: "What is this machine doing at the outlet?"
An energy-monitoring smart plug is better when you want history. Kasa's KP125M page, for example, describes real-time and historical power consumption monitoring, Matter support, scheduling, and energy bill estimates. The buying caution is simple: do not buy a smart plug just because it says "energy" in the listing. Check the electrical rating, the app or local integration path, and whether it is appropriate for a workstation-class load.
UPS telemetry is useful for a different reason. CyberPower's PowerPanel Personal documentation describes UPS vitals such as voltage, power condition, remaining runtime, and UPS load. Network UPS Tools exposes variables such as realpower, apparent power, battery charge, and battery runtime, while its own configuration docs warn that runtime-based behavior depends on the UPS reliably reporting charge or runtime. In plain English: UPS numbers are useful, but you still need to test them with your actual gear.
Make A Baseline Before You Tune Anything
The first measurement session should be boring and repeatable.
Write down the machine, room, and workload. Do not change five settings at once. Do not compare a cold boot to a warm room. Do not run one ComfyUI graph at stock settings and a different graph after a power limit.
Start with these six rows:
| State | What to record |
|---|---|
| Off but plugged in | Standby draw, if the meter can read it |
| Idle after boot | Wall watts after services settle |
| Model loaded, no active job | Wall watts with Ollama, ComfyUI, or your UI ready |
| Typical workload | Wall watts during the job you actually run |
| Worst normal workload | Wall watts during a batch, upscale, or longer inference run |
| Cooldown | How fast the machine drops back after the job ends |
For each run, record wall watts, GPU power from nvidia-smi, GPU temperature, fan behavior if visible, and the time the workload took. If the meter supports kilowatt-hours, let a longer job run and record energy used. A short spike tells you about headroom; a longer kWh measurement tells you about real operating cost.
This is also where TokenByte's how we test mindset matters. A single number is less useful than a repeatable method. You are not trying to publish a lab-grade benchmark. You are trying to stop lying to yourself about load, heat, and upgrade pressure.
Then Test The Power Limit
Once you have a stock baseline, test a lower GPU power limit.
On supported NVIDIA cards, the pattern looks like this:
nvidia-smi -q -d POWER
sudo nvidia-smi -pl 320
nvidia-smi --query-gpu=power.draw,power.limit,temperature.gpu,utilization.gpu,memory.used --format=csv -l 2
The 320 in that example is not a universal recommendation. It is a placeholder. Use the supported min and max range reported by your card, then pick a conservative test value. If the command is unsupported on your device, do not force it. Use the tools your hardware actually exposes.
Now repeat the same workload and compare four things:
- wall watts
- completion time
- GPU temperature and fan behavior
- whether the machine is nicer to live with
That last point is not soft. A local AI workstation that is 4 percent slower but much quieter may be the better daily driver. A lower limit that saves little wall power and makes every job drag is probably not worth keeping. The meter turns that from a forum argument into your own decision.
Do Not Let The Meter Become A Switch
There is one safety point worth saying plainly: a smart plug is not the same thing as a workstation power system.
For a high-load AI tower, the switching feature is often the least interesting part. The measurement is the reason to buy. Avoid remote power-cycling a workstation casually, and be especially careful with smart plugs that are designed for lamps or small appliances rather than sustained workstation loads.
For serious shutdown behavior, use the UPS path instead. A UPS connected over USB, PowerPanel, Network UPS Tools, or vendor software can give the operating system a chance to shut down cleanly when runtime gets low. Network UPS Tools can use battery charge or runtime thresholds, but its docs are explicit that this depends on the UPS reporting those values reliably.
The practical setup is:
- Use a meter or energy plug to learn the wall load.
- Use UPS telemetry to protect the workload.
- Use
nvidia-smito understand the GPU side. - Use your notes to decide whether the upgrade is actually needed.
That is a better chain than buying a bigger card because the current machine feels slow on a day when the room is hot and the fans are loud.
What To Buy First
If you have no measurement gear, buy the simplest safe meter first. A plug-in watt meter is enough to measure a single tower before and after a change. It is not glamorous, but it is hard to beat for a quick sanity check.
If you already use Home Assistant or want longer history, choose an energy-monitoring smart plug only after checking the electrical rating and data path. Look for real-time watts and cumulative kWh, not just on/off control. Matter support can help with ecosystem compatibility, but it does not automatically mean every energy feature is exposed everywhere.
If the machine runs unattended, spend more attention on the UPS. The UPS should show load and runtime, and you should test shutdown behavior before trusting it. A UPS that only exists as a heavy power strip is not enough for a long ComfyUI batch, a local database, or a model download cache.
For gear planning, pair this with TokenByte's recommended local AI gear and ComfyUI GPU guide. The GPU still matters. VRAM still matters. CUDA support still matters. The point is to add measurement before the next purchase, not to turn every build into an electrical engineering project.
A Simple Local AI Power Log
Keep the log plain enough that you will actually use it:
Date:
Machine:
GPU:
Driver:
Workload:
Wall watts idle:
Wall watts during workload:
GPU watts during workload:
GPU power limit:
Runtime:
Room notes:
Result:
The "room notes" line sounds unnecessary until you compare a winter morning to a summer afternoon. A home-lab AI box lives in a real room, not a spec sheet. Ambient temperature, dust, fan curves, case location, and whether the door is closed can all change how the machine behaves.
After three or four entries, patterns start to appear. Maybe the GPU upgrade is justified. Maybe a power limit solves the heat problem. Maybe the UPS is undersized. Maybe the expensive tower is fine, and the real bottleneck is model storage or network transfer.
Those are the decisions worth getting right before another box arrives.
Bottom Line
A wall power meter will not make your local AI setup faster. It will make your decisions cleaner.
Measure idle draw. Measure the workload you actually run. Compare GPU power to wall power. Test a lower power limit. Check UPS load and runtime. Keep a short log. Then decide whether the next dollar belongs in a GPU, UPS, PSU, case, fan setup, model drive, or nothing at all.
The best home-lab AI upgrades are the ones that solve a measured problem. Everything else is just a louder way to guess.
Affiliate disclosure: TokenByte may earn a commission if you buy gear through future links on this site. This article is based on manufacturer documentation, official software docs, and practical home-lab planning guidance; it does not include undisclosed paid placement or TokenByte hands-on benchmark results.
For the next step, compare your measurements with TokenByte's local AI build picker, ComfyUI GPU guide, recommended local AI gear, and how we test.
Found something that needs correcting? Tell the editor. Research, estimates, and hands-on measurements should be identified in the article. Read our affiliate disclosure.