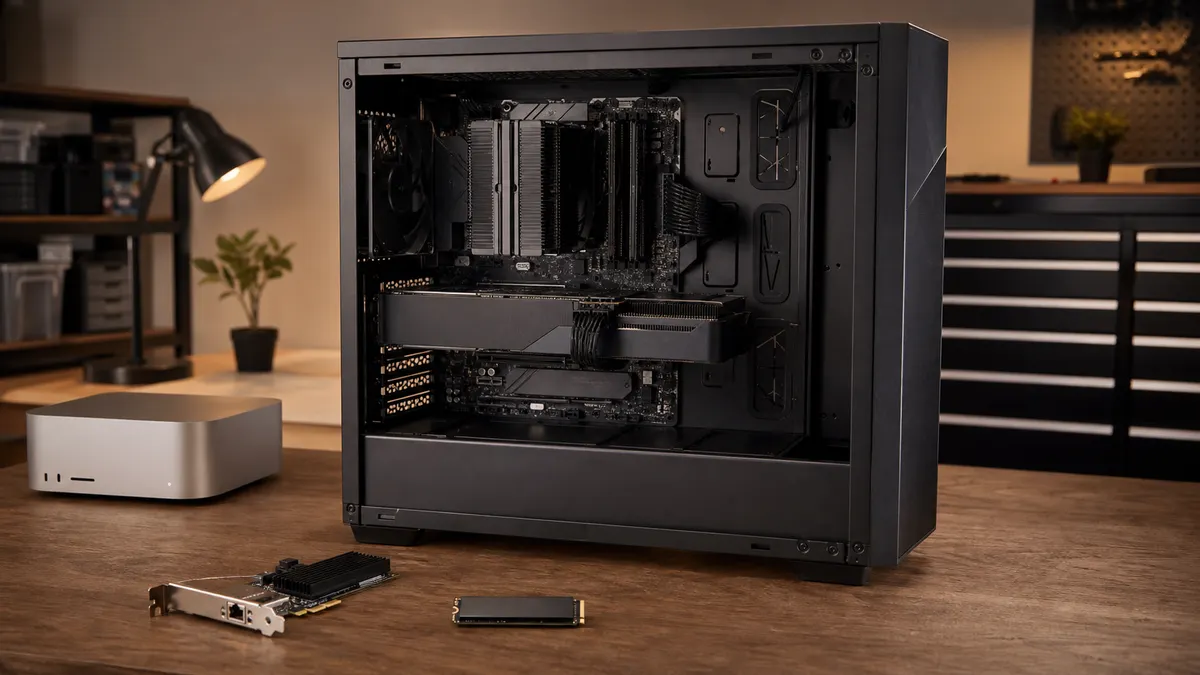
The worst time to learn your motherboard shares lanes is after the return window closes.
The GPU fits. The second slot looks full length. The board has five M.2 sockets, a 10GbE port, USB4, maybe Thunderbolt, and enough marketing copy to make the build feel solved. Then the manual footnote shows up: use this M.2 slot and that PCIe slot drops, install a second card and the main GPU runs differently, populate the last SSD slot and a lower expansion slot turns off.
That does not mean the board is bad. It means PCIe lanes are a budget, not a vibe.
For a local AI workstation, this matters because the expensive parts are usually fighting for the same physical neighborhood: an RTX GPU, a possible second GPU, fast NVMe drives, a 10GbE card, USB4 or Thunderbolt controllers, capture hardware, and sometimes a scratch drive you added because the boot disk was suffering. A little planning before checkout can save a lot of "why did this slot disappear?" debugging later.
Affiliate disclosure: TokenByte may earn from gear links when they are added. Recommendations here are based on practical fit, compatibility risk, and reasons not to overspend, not paid placement.
The Fast Verdict
Before buying a motherboard for a local AI workstation, make a lane map.
Do not stop at "ATX board with two x16 slots." Write down:
- Which PCIe slot gets the main GPU.
- Whether a second GPU is actually part of the plan.
- Which M.2 slot holds the boot drive.
- Which M.2 slot holds the scratch drive.
- Whether the board already has 10GbE, or whether you need an add-in NIC.
- Which slots or M.2 sockets share bandwidth.
- What happens when every planned device is installed at the same time.
For most TokenByte readers, one good GPU plus a clean storage/network plan beats a crowded board full of compromises. If you are still deciding between a quiet Mac, a single RTX tower, a GB10-style AI PC, or a multi-machine setup, start with the TokenByte local AI build picker before shopping by slot count.
Mechanical x16 Is Not The Same As Electrical x16
Motherboard product photos can be misleading because the long slot is only the physical connector.
A slot can be mechanically x16 and electrically x16, x8, x4, or something else depending on the CPU, chipset, board wiring, BIOS mode, and other devices installed. That is normal. It is also exactly why the spec table and manual matter.
PCI-SIG's PCIe 5.0 FAQ lists the raw signaling rate at 32.0 gigatransfers per second per lane, while PCIe 4.0 is 16.0 and PCIe 3.0 is 8.0. In plain home-lab terms, generation and lane count both matter. A PCIe 5.0 x8 link has a lot of theoretical bandwidth. A PCIe 3.0 x4 link does not belong in the same mental bucket.
That does not mean every local AI job needs the widest possible link all day. Once a model or workflow is resident on the GPU, VRAM capacity, GPU compute, thermals, and workflow design often matter more than slot bandwidth. But the slot still matters for device compatibility, model loading, multi-GPU layout, capture cards, fast storage, and avoiding surprise downgrades.
The practical rule: do not buy a board because the slot looks long. Buy it because the manual says your exact device mix works.
Know Where The CPU Lanes Go First
Consumer desktop platforms usually have a limited number of CPU-connected high-speed lanes, then additional chipset lanes for the rest of the board.
AMD's AM5 chipset table shows why the details matter. X870E and X870 list graphics as 1x16 or 2x8, while B850 lists graphics as PCIe 4.0 in the same 1x16 or 2x8 shape. The table also separates direct processor lanes from chipset-provided USB and SATA resources. That is the useful mental model: the CPU has the prime seats, and the chipset handles a lot of useful overflow.
Intel's Z890 chipset page gives a similar planning clue from the other side. It lists supported processor PCIe port configurations such as PCIe 5.0 in 1x16+1x4, 2x8+1x4, or 1x8+3x4 forms, plus a PCIe 4.0 x4 path. Again, the point is not that every board exposes every possible layout cleanly. The point is that the platform has a finite routing plan.
If the main GPU is your workhorse, it usually belongs in the primary CPU-connected slot. If the fastest NVMe drive is your boot or active project drive, put it in the CPU-connected M.2 slot the manual recommends. Then place everything else around those two facts.
This is also where the older TokenByte CPU advice still applies: do not overspend on CPU before you understand the platform. A cheaper processor on the right board can be more useful than a fancy CPU paired with a slot layout that blocks the actual lab plan. The RTX CPU platform guide is worth reading before turning this into a processor trophy hunt.
M.2 Slots Are Where Surprises Hide
Most AI builders worry about the GPU slot first. The M.2 footnotes are often where the real trap lives.
ASUS' ProArt Z890-CREATOR WIFI specs are a good example of why you have to read the storage section. The board lists five M.2 slots, but the fine print says the M.2_5 slot shares bandwidth with the PCIe 4.0 x16 slot, and that lower PCIe slot is disabled when M.2_5 is operating.
That is not a scandal. It is disclosure. Many boards make reasonable tradeoffs to expose more connectors than can all run independently at full speed. The problem is when a buyer treats every connector as if it were isolated.
For a local AI build, decide what each drive is doing:
| Drive job | Best planning question |
|---|---|
| Boot drive | Which M.2 slot does the manual recommend for the OS drive? |
| Scratch drive | Can this live on a chipset M.2 slot without hurting a planned add-in card? |
| Model library | Is local NVMe needed, or is a NAS/shared library the better long-term home? |
| Backup/export drive | Does it need a motherboard slot, or is USB/TB/NAS enough? |
Yesterday's TokenByte scratch-drive guide was about keeping high-churn ComfyUI, Hugging Face cache, Docker, and automation output away from the boot disk. This article adds the motherboard angle: do not use a scratch-drive M.2 slot that silently disables the expansion card you were planning to add next. Read the scratch-drive plan first if the storage mess is already happening.
The 10GbE Decision Belongs In The Lane Map
Network upgrades are easy to underestimate because a 10GbE card looks small beside a large GPU.
But a 10GbE NIC still needs a real PCIe connection. Many cards are happy with a modest lane count, but they need a slot that remains enabled, has airflow, and does not collide with the GPU cooler. If the motherboard already includes 10GbE, that can simplify the build and preserve an expansion slot. If it does not, the add-in NIC must be part of the lane map from day one.
This matters more if your model library lives on a NAS. The TokenByte NAS model library guide is still the right storage context: shared model storage is excellent when you stop redownloading the same large files everywhere, but active scratch work and model loading should be measured instead of assumed.
For a single-GPU workstation, a board with built-in 10GbE can be cleaner than a cheaper board plus a NIC if the cheaper board turns every expansion choice into a compromise. For a multi-machine lab, that cleanliness may be worth more than one extra decorative heatsink.
A Second GPU Changes The Whole Board Plan
The second-GPU question is not only "will it fit?"
It is:
- Will both cards have enough physical spacing?
- Does the board support the lane split you expect?
- Does the second card block M.2 heatsinks, chipset fans, front-panel headers, or SATA ports?
- Does the PSU have the right headroom and cables?
- Can the case cool both cards without becoming unpleasant?
- Which workload belongs to each GPU?
The official NVIDIA pages make the physical and power context hard to ignore. The RTX 4090 Founders Edition specs list a 3-slot card, 450 W total graphics power, and an 850 W required system power reference. The RTX 5090 page lists 32 GB GDDR7, PCIe Gen 5 support, and 575 W total graphics power for the Founders Edition. Board-partner cards can vary, but the theme is clear: these are not casual add-ins.
For local AI, a second GPU is usually best treated as a second workstation seat inside one case, not as magic merged VRAM. The TokenByte second-GPU guide covers the workload split. This lane guide is the pre-purchase sanity check: if the board only works when you remove a drive, lose a NIC, or cook the upper GPU, the second card plan is not ready.
The Board Manual Checklist
Before you buy, open the motherboard manual or detailed spec sheet and answer these questions in writing.
- What slot does the manual recommend for a single GPU?
- If two GPUs are installed, what electrical mode does each slot run?
- Which M.2 slot is CPU-connected?
- Which M.2 slots are chipset-connected?
- Which M.2 slots share bandwidth with PCIe slots?
- Which PCIe slots are disabled by specific M.2 or SATA configurations?
- Does USB4, Thunderbolt, or onboard 10GbE consume resources that change storage or expansion behavior?
- Is there enough physical space for the GPU cooler, NIC, NVMe heatsinks, and cables?
- Does the BIOS expose bifurcation settings you actually need?
- Does the board vendor publish a compatibility list or bifurcation table for the devices you plan to use?
Do not answer from a product photo. Answer from the manual.
If the manual is vague, pick another board or delay the purchase. Ambiguity is expensive when the rest of the build includes a large GPU, premium SSDs, and a network upgrade.
Three Sensible Local AI Layouts
Here are practical layouts I would consider before getting fancy.
Quiet control machine plus one RTX tower
Use a Mac Mini or laptop as the comfortable daily machine. Put the GPU, local services, and high-churn workloads on the RTX tower. The workstation gets one main GPU, one boot NVMe, one scratch NVMe, and either onboard 10GbE or one known-good NIC.
This is the least dramatic setup and probably the best one for many readers. The Mac Mini local AI guide covers the quiet-client side.
Single-GPU workstation with fast local storage
Use one RTX card, a CPU-connected boot/project SSD, a dedicated scratch SSD, and a NAS or external backup path. Skip the second GPU until your annoyance log proves concurrency is the real bottleneck.
This is where the TokenByte ComfyUI GPU guide matters more than slot maximalism. If the workflow does not fit in VRAM, a cleaner single-GPU choice may beat a board full of compromises.
Dual-GPU workstation with onboard networking
Use the primary x16 physical slot for the main card, split CPU lanes only if the board officially supports the two-card layout, avoid using M.2 slots that break the second card, and prefer onboard 10GbE if it keeps the expansion area clean.
This is the layout that needs the most proof. Buy the case, PSU, board, and cooling plan as one system, not as separate impulse upgrades.
Buying Guidance
The board to buy is not automatically the one with the most sockets.
Buy the board that makes your actual device list boring:
| If your plan is... | Prioritize this |
|---|---|
| One RTX GPU plus storage | Strong primary slot, clear M.2 layout, enough cooling room |
| GPU plus 10GbE NAS workflow | Onboard 10GbE or a guaranteed enabled slot for a NIC |
| GPU plus lots of local NVMe | Manual clarity around M.2 sharing and heatsink clearance |
| Two GPUs | Official x8/x8 support, spacing, PSU/case fit, and service assignment |
| Mac Mini plus GPU box | Network reliability and remote workflow ergonomics, not maximum slot count |
The TokenByte recommended gear hub is where buying shortlists belong. The rule here is simpler: if you cannot explain what each PCIe lane is doing, you are not ready to reward the spec sheet with your money.
How To Verify After The Build
After assembly, prove the map.
In BIOS, check the lane mode and populated slots. In the operating system, confirm each device appears. On Linux, lspci can show devices and link information, and GPU tools can confirm the card is recognized. On Windows, use the board vendor utility, Device Manager, GPU tooling, and your actual AI apps. On any platform, run the workflows that justified the parts.
Do not turn the first boot into a benchmark theater. Run practical checks:
- Start ComfyUI and load a known workflow.
- Confirm the model and output paths land on the intended drives.
- Copy a large file to or from the NAS if network storage matters.
- Confirm the NIC is running at the expected link speed.
- Watch GPU temperature and fan behavior under a real image job.
- Confirm the scratch drive does not fill the boot drive by accident.
- Write down the final slot, drive, and service layout.
TokenByte's how we test standard applies here: separate measured evidence from researched context. Manufacturer specs tell you what the board is designed to do. Your verification tells you what your assembled lab actually does.
The Bottom Line
PCIe planning is not glamorous, which is why it saves money.
It keeps the local AI workstation from becoming a pile of individually good parts that do not cooperate. It also forces the right question before checkout: what problem is this part solving, and where does it physically and electrically live?
Start with one clear GPU job, one clear storage plan, one clear network plan, and a manual that confirms the layout. Then buy the board that makes that plan boring.
That is the local AI workstation you want: not the one with the longest spec sheet, but the one that still makes sense after every slot is filled.
Found something that needs correcting? Tell the editor. Research, estimates, and hands-on measurements should be identified in the article. Read our affiliate disclosure.